


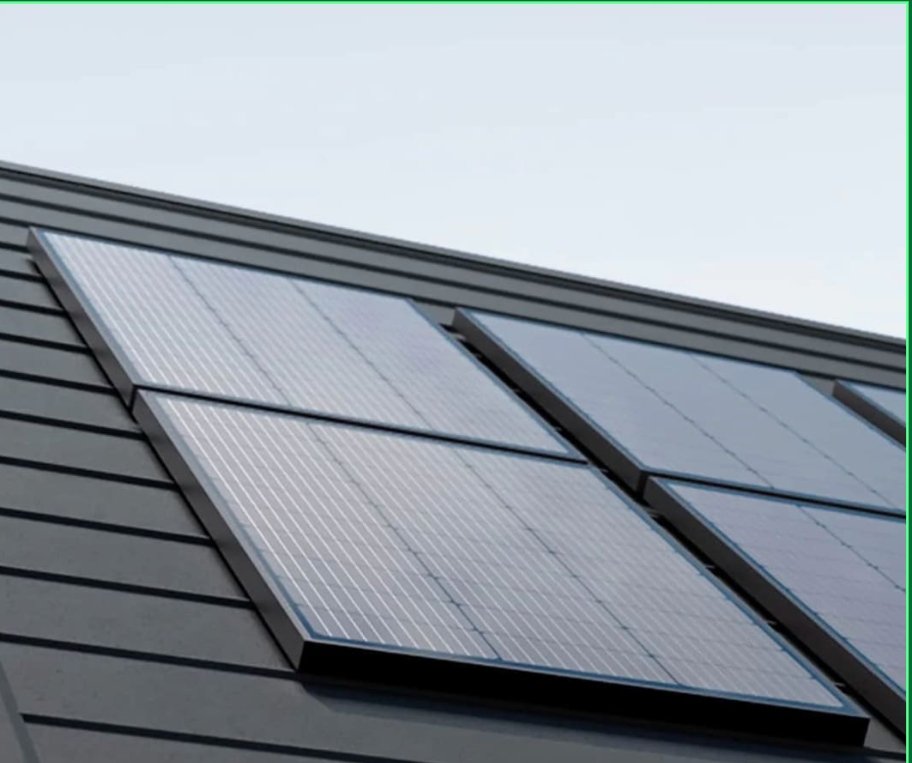
You now have your solar panel unit with you. All you have to do today is put it up on your home. This can be tricky for first-timers because you have no idea of the proper way of installing the solar panel on your property. The good thing is that you are reading this article right now. This will help you with the preparation, installation, and finishing touches on your solar panel. Without further ado, here are the steps for setting up your solar panel.
Steps on Solar Panel Installation
Assess your site
The first step that you have to do when you want to install a solar panel is to assess your site. Do you plan on putting your solar panel on your roof or in your backyard? The answer to this question lies in two factors—space and sunlight availability. If you have a lot of space that you can use either on the roof or in the yard, then you can choose either one. For some, they are restricted by space, so you are left with no choice but to select one part of your home. The next consideration is the sunlight availability. You should pick an area where sunlight availability is highest throughout the day.
Install the racking system
After finding the perfect place for your solar panel, the next thing that you need to do is to install the racking system. Most of the time, the racking system comes with the solar panel when you buy it. Other times, you need to buy a separate racking system for your units. If this is so, you should make sure that you buy the right size of racking system for your solar panel. You should make sure that all the parts are adaptable to each other. To install the racking system, you should prepare your mounting tools and gear. Then, you have to follow the instructions in your racking system guide on how to install the racking system on your roof or yard.
Install the solar panels and wiring
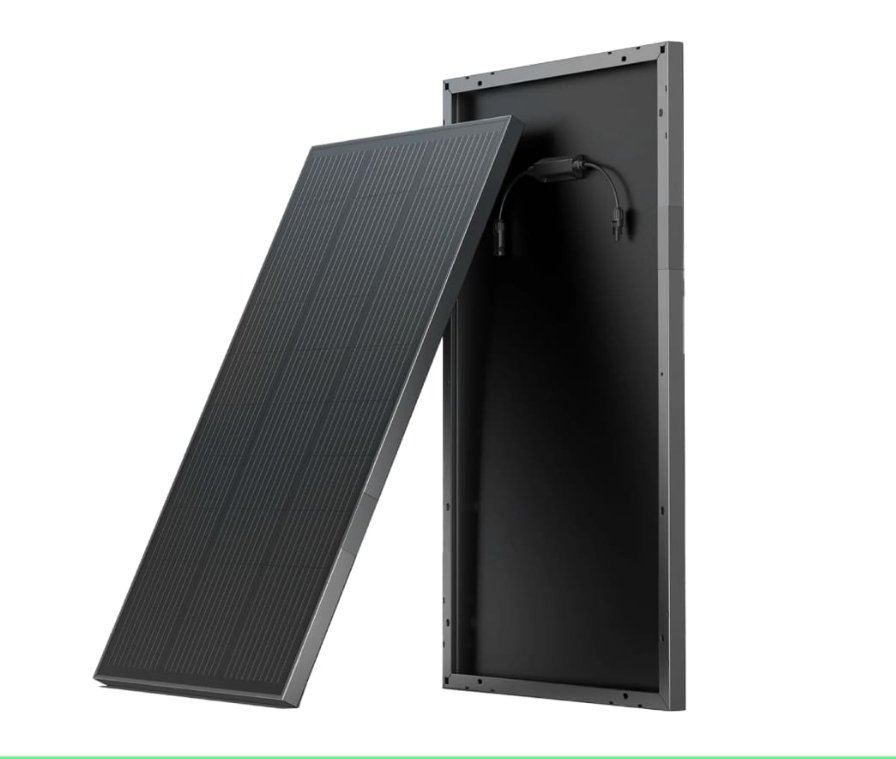
After the racking system is secured, you should then mount your solar panel. If you have placed your racking system properly, putting your solar panels will be easy. You will need help if you are going to bring your solar panels to your rooftop. After the installation, you should follow the guide on the wiring of your panel. You must prepare the right wiring and attach it to the correct component. You should take note of the polarity and proper wiring practices for your safety and protection.
Clean and start up
Lastly, you should ensure that all the unused parts and cut wires are removed from the site. The tools and other gear must also be returned to your toolbox. You can then test your panel to see if it works. You will need to install the accompanying app so that you can tell if the panel absorbs solar energy and converts it to usable electricity. You can observe its operational functionalities and make changes as necessary.
Conclusion
Once you get the hang of it, it will be easier to set up your solar panel on your roof or in your backyard. It is all about having the right tools, following instructions, and cleaning up after the task is done. You also have to keep in mind that you need to do some maintenance work on your solar panel. You should have a schedule for cleaning it up once in a while. You also have to monitor the health of your solar panels along with the other essential parts so that you have optimum output for your home. These procedures will help you extend the life of your solar power system and keep the efficiency high.
